Preparation Steps
IAM Permissions
Required Permissions
- AdministratorAccess
- AmazonBedrockFullAccess
- AWSCodeBuildAdminAccess
- AWSCodeBuildDeveloperAccess
- BedrockAgentCoreFullAccess
Create a User and Assign Permissions
- Go to IAM → Users → select Create user.
- Add the permissions listed above.
- Complete the user creation and save the Access Key if you need it for the SDK.

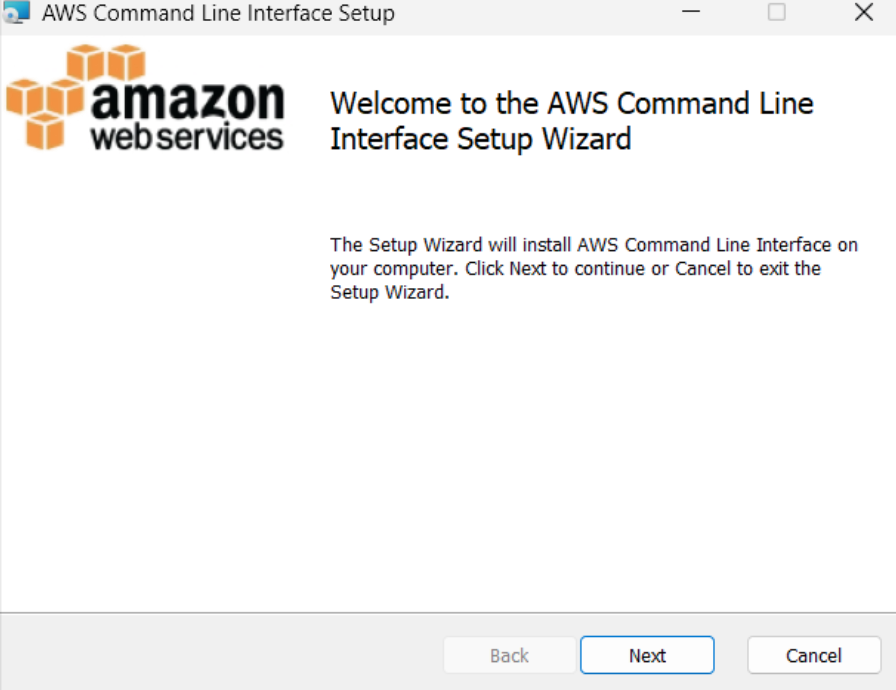
Download AWS CLI
Download AWS CLI: AWS CLI Link
Then install it following the instructions.
UV Management Setup
1. Why use UV?
UV is fast, lightweight, and manages environments better than pip.
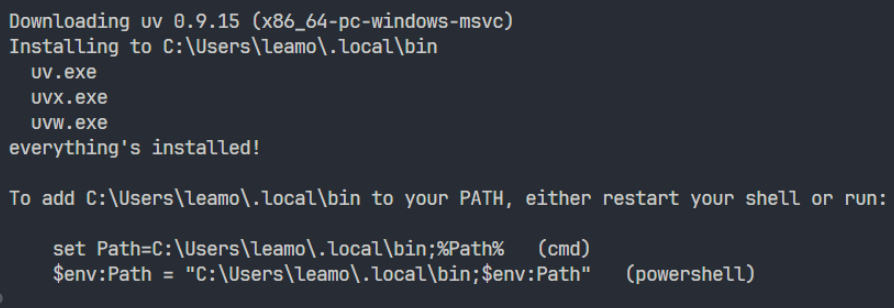
2. Install UV on Windows
Run:
powershell -ExecutionPolicy ByPass -c "irm https://astral.sh/uv/install.ps1 | iex"
Add UV to PATH:
$env:Path = "C:\Users\leamo\.local\bin;$env:Path"
Restart your machine to apply the new PATH.
3. Initialize a UV Environment
Inside your project directory:
uv init

Then select the environment in VS Code.
Connect Your Machine to AWS CLI
Go back to IAM to create an Access Key.
Create Access Key and Configure AWS CLI
- In the user page: Security credentials → Create access key
- Choose Command Line Interface (CLI)
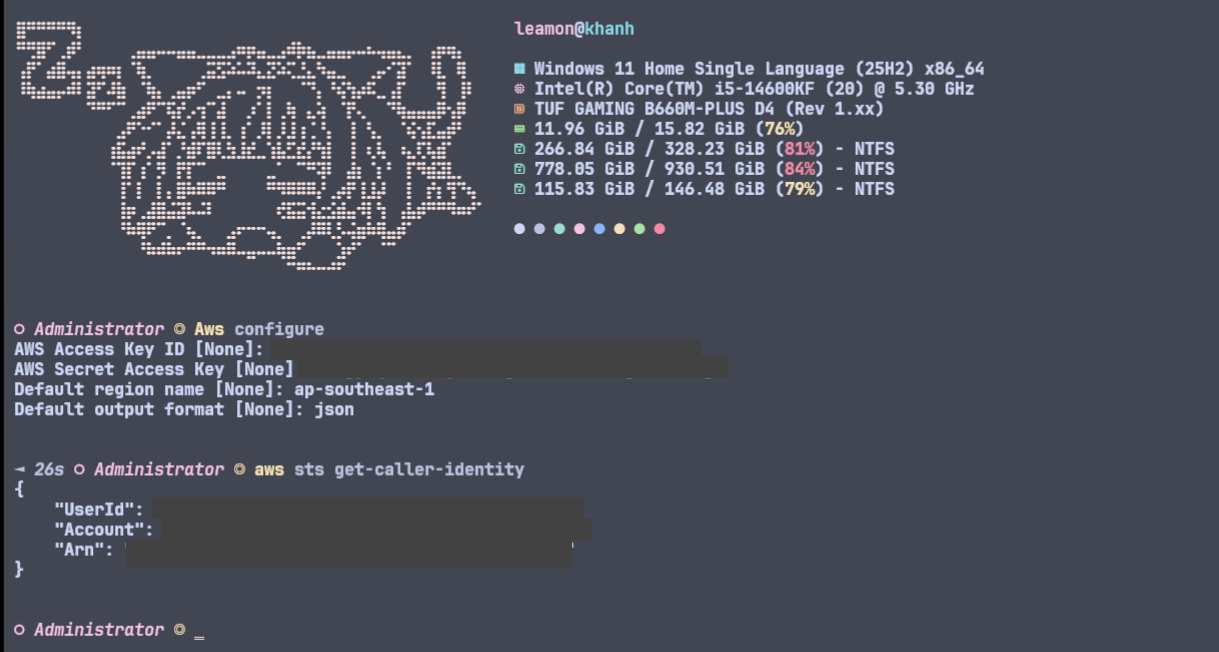
Configure AWS CLI
Run:
aws configure
Fill in:
- AWS Access Key ID
- AWS Secret Access Key
- Default region name (example:
ap-southeast-1) - Default output format
json
Start AWS CLI AgentCore
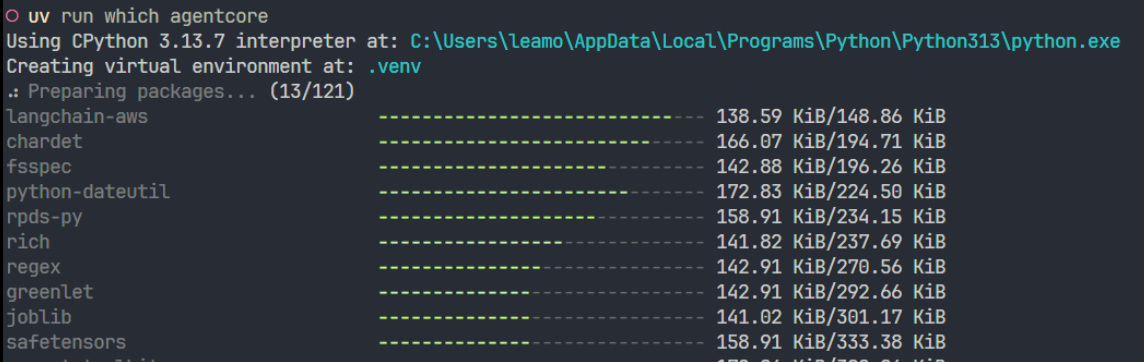
Run:
uv run which agentcore
After running, it will download all necessary libraries for AWS AgentCore.
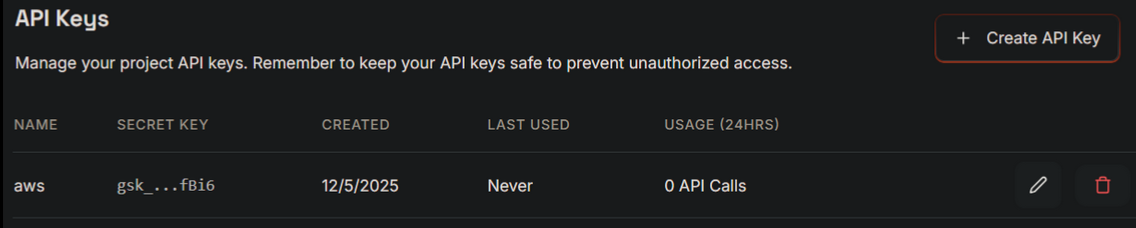
Create Groq API
Go to Groq and create an API key as shown. These external tools support RAG and are integrated through AWS AgentCore.